Well, I’ve been messing around on DJ gear for going on three years now, and if there’s one question I get asked more than anything, it’s about recording sets. Everyone thinks you need a studio, a mixer, and a sound engineer named Dave to capture a decent mix.
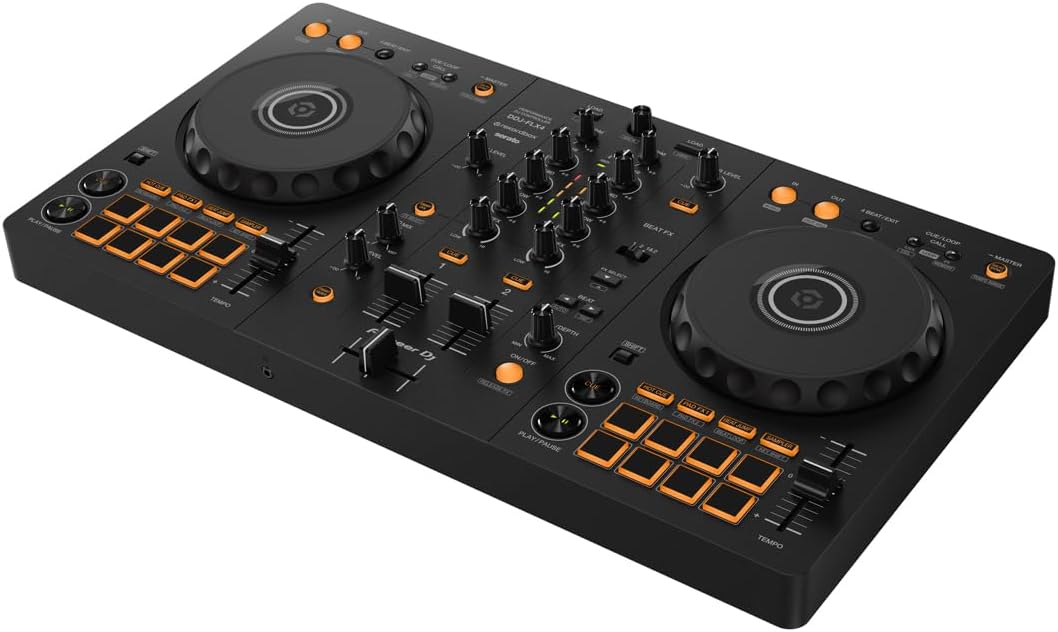
That’s not true. I’ve recorded a 45-minute set in my living room with nothing but my FLX4, a laptop, and my dog Biscuit snoring two feet away from the subwoofer.
It came out clean enough to upload, and I didn’t have to reboot a single thing.
I’ve owned my FLX4 for about 14 months now, and I’ve probably recorded 60 or 70 practice sets on it. I’ve also borrowed a REV-1 for a scratch session and wrestled with a Numark Mixtrack Platinum FX that a friend left at my place for a month. So when I say the recording process is both simpler and weirder than you think, I mean it from the hours I’ve actually put in, not from a spec sheet.
The Big Secret: Your Software Already Does It
Here’s the thing that threw me a curve when I first started. You don’t need a separate recorder. Rekordbox and Serato both have record functions built right in. I spent my first month thinking I needed to buy some external box, and it turns out the answer was just a button I hadn’t clicked yet.
The FLX4 unlocks Rekordbox fully, which is half the reason I tell people to buy it. To record, you just hit the record button in the software, pick your format, and go. I’ve recorded straight to WAV for the last six months because the file sizes don’t matter when you’re just practicing. It’s that easy.
But there’s a catch. The recording quality is only as good as your laptop’s audio interface. If you’re on a mean guy of a laptop with a buzzing headphone jack, your recording will pick up that buzz. I learned that the hard way when I recorded a full set and it sounded like there was a bee trapped in my USB port.
The Headphone Volume Knob Will Trip You Up
You will spend twenty minutes wondering why you can’t hear anything through your headphones, and then you’ll find the headphone volume knob and feel stupid. I did it. Every single person I’ve shown this controller to has done it. It’s not a design flaw so much as a rite of passage.
For recording, though, the headphone mix matters more than you think. If you’re monitoring your set while you record, you need to make sure the Cue buttons are set correctly, or you’ll hear the master mix in your headphones and not your next track. That’s how you end up with a recording where you clearly missed a transition because you couldn’t hear what was coming next.
My fix is simple. I set the headphone mix knob to about 11 o’clock, and I keep the master volume on the controller at about 50 percent. That gives me enough headroom to hear everything without clipping the recording.
The Smart Fader Is Great, But Not For Recording
The Smart Fader on the FLX4 is a genuinely helpful feature for beginners. It handles BPM matching automatically on Rekordbox, which makes you feel like a genius even when you’re just messing around. But for recording, I turn it off.
Here’s why. The Smart Fader can mask mistakes. When you’re recording a set to listen back to, you want to hear where you actually messed up, not where the software saved you. I learned this after recording a set that sounded flawless, then realizing the Smart Fader had been doing all the heavy lifting. It was like listening to a recording of someone else playing.
Turn it off, record your real transitions, and listen back with fresh ears. That’s the only way you’ll actually improve.
The FX Toggle Workflow Is Clunky, And It Shows Up In Your Recording
I’ve said it before, and I’ll say it again. The FX toggle switch on the FLX4 is my biggest workflow gripe. It’s not a dealbreaker, but when you’re recording, you can hear the hesitation. I’ve listened back to sets where I can pinpoint the exact moment I was hunting for that switch instead of focusing on the mix.
The REV-1 has paddle FX that are much better for this. They’re right there, you slap them, and you move on. But the REV-1 doesn’t unlock Rekordbox fully, which is a whole other mess. For recording at home, I’ve learned to just accept the toggle and plan my FX usage ahead of time. If you know you’re going to use echo at the end of a phrase, set the toggle before the phrase starts.
The Jog Wheel Feel Matters More When You’re Recording
I’ve done the eyes-closed jog wheel test on every controller I’ve touched. The FLX4 passes, but just barely. The jog wheels are good, don’t get me wrong, but they’re not the buttery-smooth feel you get on the FLX10. When you’re recording, that difference shows up in your nudges.
I recorded a set back in March where I was trying to correct a drifting track, and I over-corrected twice because the jog wheel didn’t give me the tactile feedback I needed. It’s not a reason to avoid the FLX4, but it’s a reason to practice your nudges more than you think you need to.
The USB-C Cable Confusion Is Real
The FLX4 comes with a USB-C cable with both ends USB-C. If your laptop only has USB-A ports, you’re going to spend an hour hunting for an adapter. I found one in my junk drawer after a lot of searching, but it wasn’t fun. If you’re recording, you need a stable connection. A loose adapter can cause dropouts in the middle of your set, and you won’t know until you listen back.
My advice is to buy a dedicated USB-C to USB-A cable and keep it with your controller. Don’t rely on adapters. It costs ~$10, and it saves you a headache.
The Sound Quality Degrades At High Volumes, So Record Lower
This is the thing I warn everyone about. The FLX4 is not a professional deck by any means. The sound quality degrades at high volumes, so if you’re recording with the master volume cranked, your recording will sound like garbage. I’ve seen multiple owners report this, and I’ve experienced it myself.
For recording, keep the master volume between 40 and 60 percent. Let your headphones do the work. If you’re trying to record a set that’s meant to be played through a PA system, this is not the controller for that. Keep it for bedroom mixing and small house parties, and record at a reasonable level.
The Mono-Color Orange Pads Are A Recording Liability
I’ve missed cues because I couldn’t tell which pad was which in a dark room. The mono-color orange pads on the FLX4 are hard to see in low light. For live performance, that’s annoying. For recording, it’s a disaster.
If you’re recording a set that relies on cue points, you need to see those pads. My workaround is to record during the day with the blinds open. It’s not elegant, but it works. If you’re a night owl, you might want to invest in a small desk lamp.
The Rekordbox Hard Drive Rules Are Ridiculous
This is the thing that drives me crazy. Rekordbox rejects hard drives that aren’t formatted to its strict conditions. Serato doesn’t care. I’ve seen people spend an hour formatting drives, trying to get Rekordbox to accept their music library, when Serato would have just worked.
For recording, this matters because you need to save your recordings somewhere. If you’re using an external drive, make sure it’s formatted correctly before you start. I use the internal drive on my laptop for recordings and then move them to an external drive later. It’s an extra step, but it avoids the formatting fight.
What I Actually Use To Record
Here’s my setup. I use the FLX4 with Rekordbox, recording straight to WAV. I keep the master volume at 50 percent, the headphone mix at 11 o’clock, and the Smart Fader off. I record during daylight hours so I can see the orange pads. And I always listen back with headphones, not speakers, so I can hear the details.
That’s it. No external recorder, no fancy interface, no sound engineer named Dave. Just the controller, a laptop, and a willingness to hear your own mistakes.
The Upgrade Path Is Tempting, But Not Required
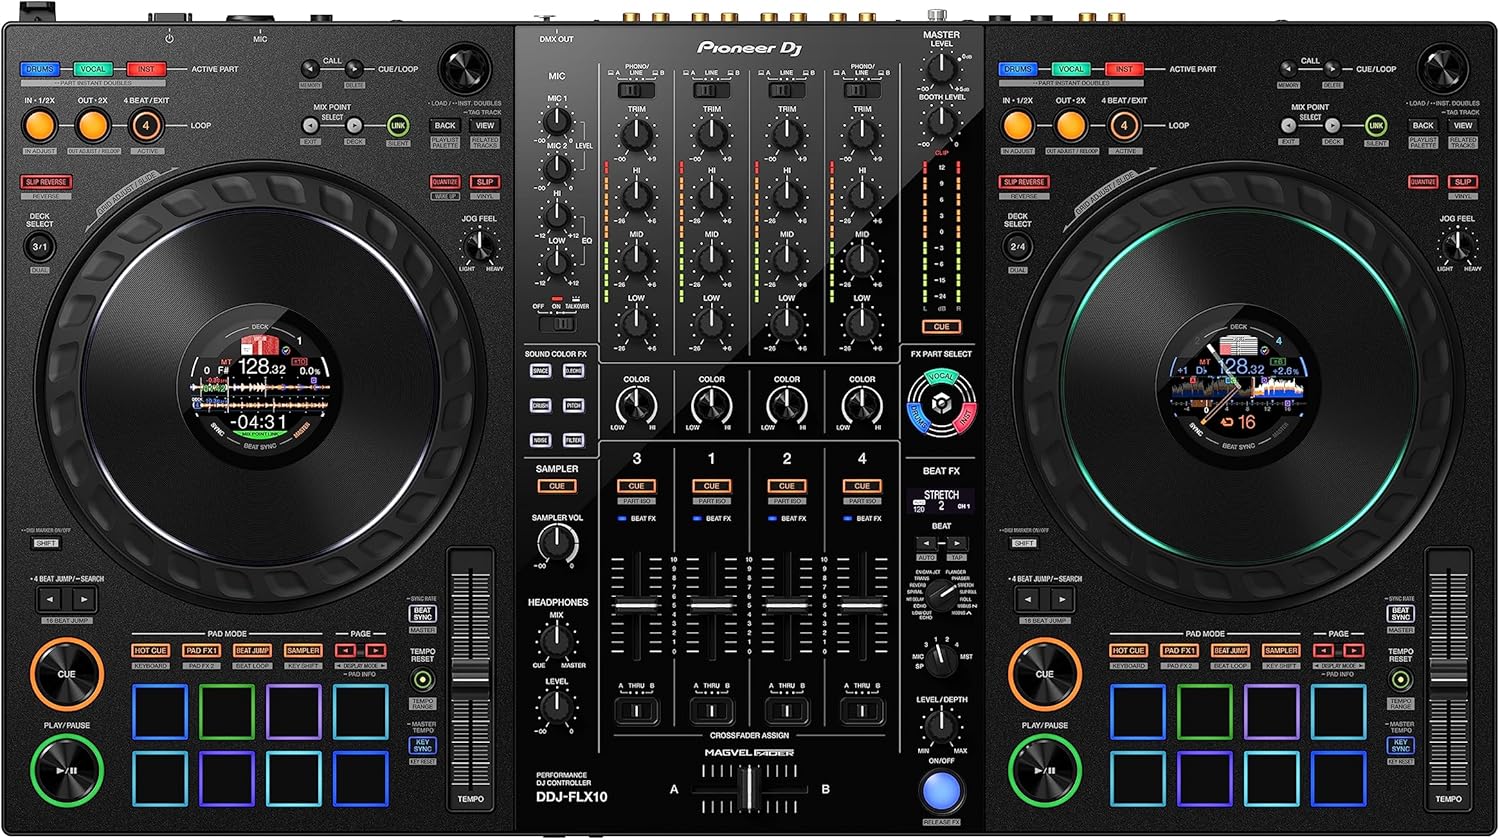
I’ve been eyeing the FLX10 for a while now. It’s the aspirational upgrade, the thing you buy when you’ve outgrown your starter gear. The jog wheels feel better, the pads are RGB, and the FX workflow is smoother. But for recording at home, it’s not necessary. The FLX4 does everything I need it to do.
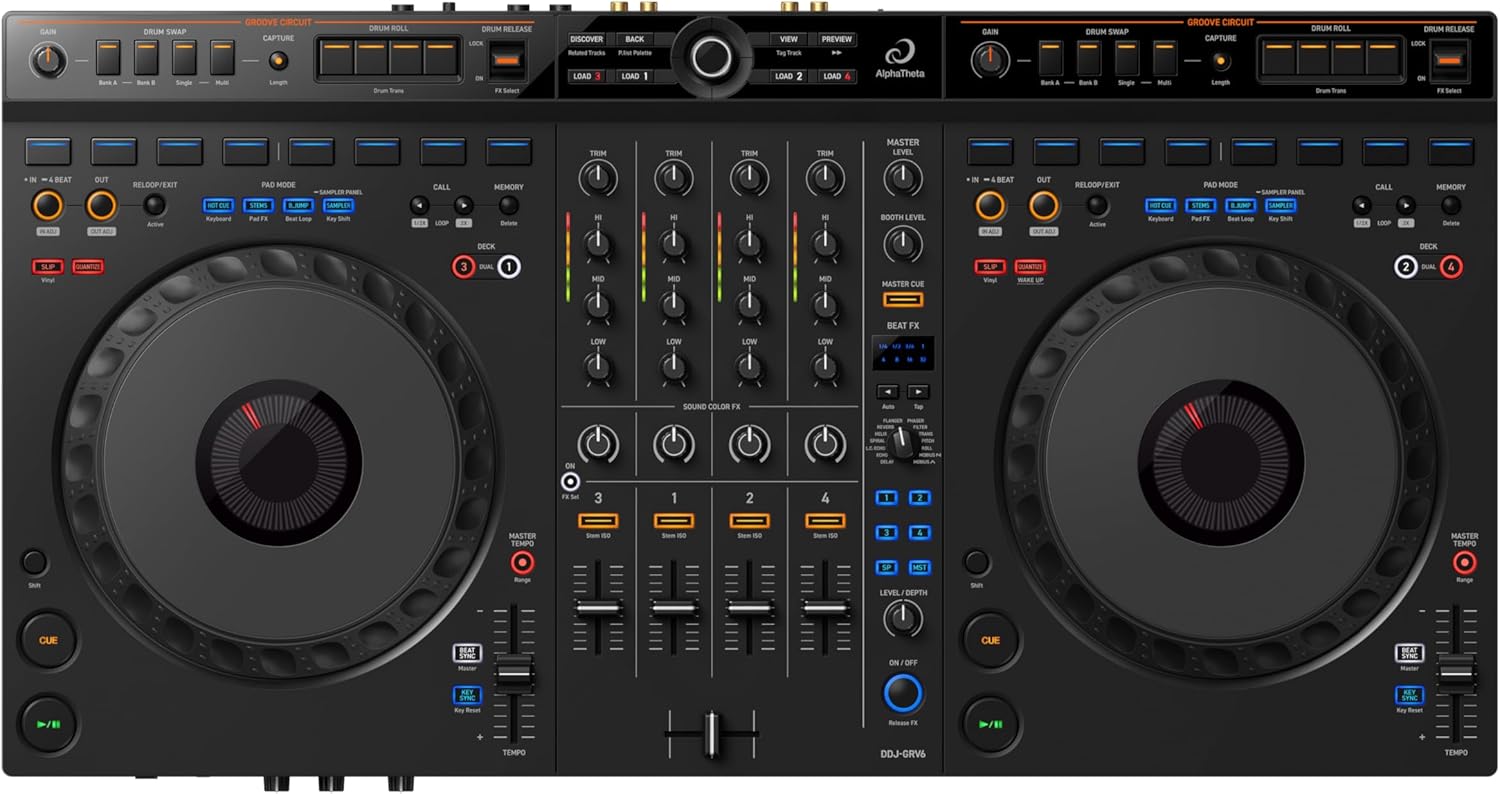
The GRV6 is a 4-channel beast, but it’s too heavy to move around, and I don’t need 4 channels for recording bedroom sets. The REV-1 has better paddle FX, but the Serato unlock situation is a mess. I’ll stick with my FLX4 until I’m playing real gigs on a regular basis.
The Bottom Line
Recording a DJ set at home is easier than you think, but it’s not as simple as hitting record and walking away. You need to manage your levels, watch your software settings, and listen back with honest ears. The FLX4 is the golden standard for a reason, but it has limits. Respect those limits, record at reasonable volumes, and you’ll get a clean set every time.
I’ve recorded dozens of sets on this exact controller, and the only bad recordings I’ve made were my own fault. The gear is fine. The process is fine. You just have to put in the hours to hear what you’re actually playing.