A compact 2-channel DJ controller is the cheapest honest way into mixing. You do not need four decks. You do not need a club-standard mixer. You need two channels, a crossfader, two jog wheels with actual resistance under your fingers, and software you will open every single night.
I have been DJing clubs for eight years and weddings for five, which means I have set up controllers on basement pool tables, on folding tables behind bar backs, and on banquet hall stages while a catering crew rolled carts through my cable runs. The setup is where beginners lose their first two weeks. Not the mixing. The setup.
This guide walks the whole thing in order: what to put on the table, which settings to change before you touch a fader, how to set gain so your first recorded mix does not sound like a blown speaker, and what to practice in your first hour.
Why you should trust me
I have owned three controllers and I currently rent a storage unit partly because friends keep borrowing gear from it. My test for any controller is the same every time: a full four-hour set with real transitions, a fader smash session that would void most warranties, and a jog wheel check with my eyes closed, because feel beats specs and always has.
That is also why this article is a setup guide and not a scored review of the two units in it. My own rule is that I do not hand out a verdict until I have played a set of real length on a unit, and a checklist of things to change is useful whether or not I have gigged that exact box. So treat the steps below as the workflow, and treat the gear notes as buying guidance.
How I picked and how I tested
For beginners I judge a controller on four things, in this order: the software that ships with it, the jog wheel feel, the fader quality, and whether it will resell without a fight when you upgrade. Hardware specs come last. A controller is only as good as the software bundle behind it, and a unit with great specs and a subscription-walled app is a worse first purchase than a modest unit with a full license.
I also weigh what comes in the box. Cables and a case sound boring until your first gig is in three days and you are ordering a TRS cable at 11 p.m. A bundle that covers the boring parts is worth more than a spec sheet.
The honest limits of this article: I am not going to tell you a controller is club ready unless I have used it at a paying gig, and I do not review mixers at all. Controllers only. That is the lane.
The controller, and what should be in the box
Two channels is the right starting point. You need two solid channels and a brain that plans transitions, not four channels and no plan.
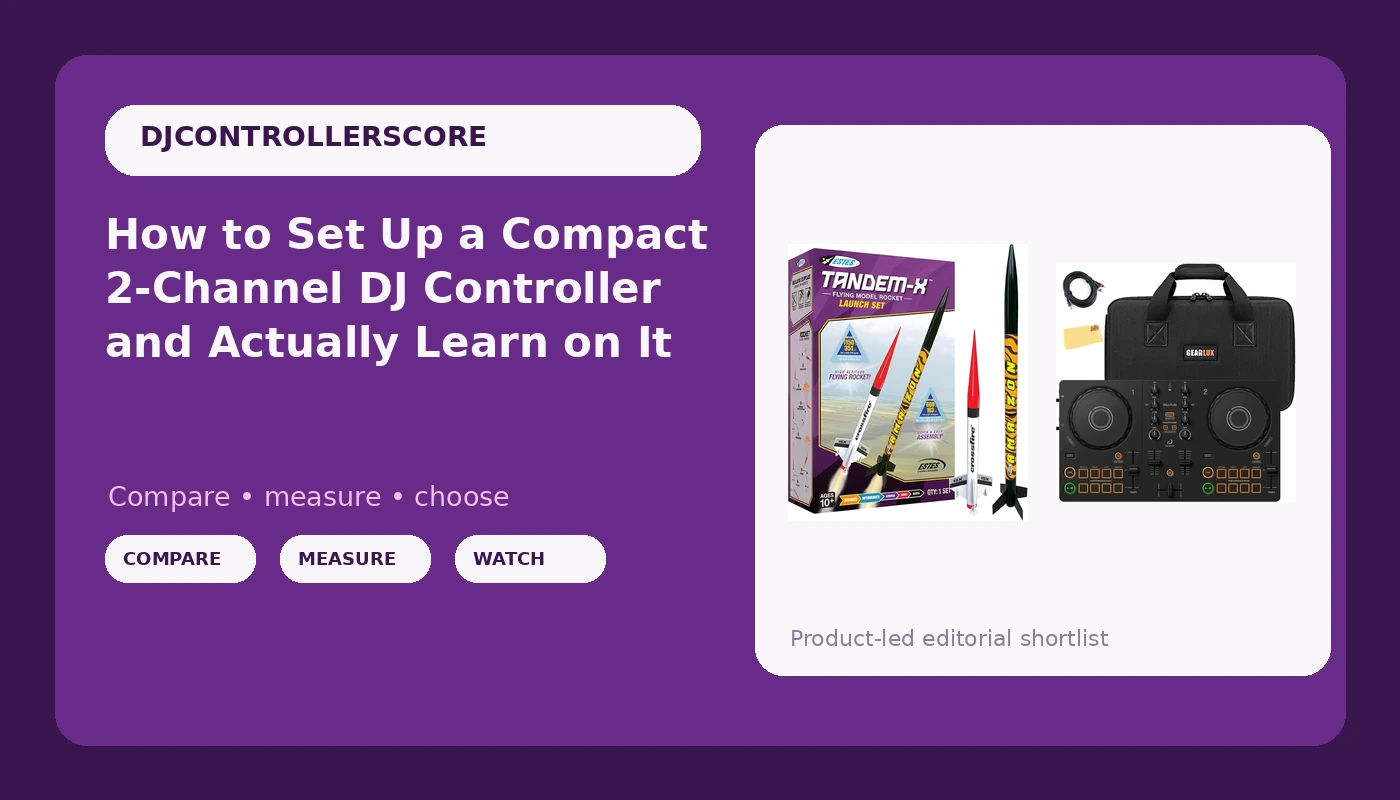
Our pick: Pioneer DJ AlphaTheta DDJ-FLX2 Compact 2-Channel DJ Controller Bundle with Carrying Case, TRS Cable, and Austin Bazaar Polishing Cloth
 Visit on Amazon →
This is the compact two-channel unit I would point a beginner at, and the reason is the bundle as much as the deck. You get the controller plus a carrying case, a TRS cable, and a polishing cloth. The case matters more than people admit, because a controller that lives in a bag survives the trip to a friend's apartment, and the TRS cable means you are not hunting for a connection the night before your first set. Check current Amazon price before you order, because bundles like this shift around.
Pioneer has been the standard in this world for a long time, and the standard is the standard for a reason. That cuts both ways: you pay a little for the name, and you also get gear that holds resale value and feels familiar the first time you walk into a booth that is not yours.
Flaws but not dealbreakers: Compact means compact. The footprint is small, which is the point, but if you have large hands and you are used to full-size platters, give yourself a week to adjust to the jog wheel diameter before you decide you hate it.
This is for the person who wants to practice every night at a desk, in a dorm, or on a kitchen table, and who wants a unit that will not embarrass them when a friend asks them to play a house party.
The setup workflow, step by step
Step one: Fix the table before you fix the settings. Put the controller at roughly elbow height. Laptop to the side, angled toward you, never directly behind the controller where you will knock the lid with a fader throw. Speakers at ear height and angled in, not blasting at your knees. Drinks go on the floor. This is not fussiness. A bad table angle is the reason half of beginner mixes sound hesitant.
Step two: Install the software, then update it. Whatever app ships with your controller, install it, then check for updates before you do anything else. Also check for a firmware update for the controller itself. Firmware fixes are where manufacturers quietly patch the bug that made your jog wheel drift.
Step three: Set your audio routing and buffer size. Master output to your speakers, headphones to cue, and then set the buffer. Start at 256 samples. If you hear crackling or dropouts, raise it. If scratching feels laggy, lower it. On a laptop with a decent processor you will land at 128 or 256 and never think about it again.
Step four: Gain staging, which is the step everyone skips. Play a track, jump to its loudest section, bring the channel fader to the top, and raise the trim until the channel meter sits near the top of the green. Not into the red. Do this once per channel and then stop touching the trim mid-set. Your mix should be loud because the system is loud, not because you clipped the input. This is the skill nobody buys gear for, and it is the difference between a mix that sounds clean and a mix that sounds like a phone speaker in a paper cup.
Step five: Fader curves. Channel fader curve goes smooth for blending and sharp for cuts. Crossfader curve goes smooth if you mix long and blend, sharp if you cut and scratch. If you scratch, check whether the crossfader can be reversed, and if you have never thought about it, leave it alone.
Step six: Jog wheel feel and mode. Vinyl mode lets the platter behave like a record, which is what you want for pitch bends and scratches. CDJ mode turns the wheel into a nudge control. Then set jog sensitivity so a small push bends pitch gently instead of dumping the track off the grid. Test it with your eyes closed. If a light touch sends the pitch flying, turn the sensitivity down until it does not.
Step seven: Headphone cueing. Set cue to your headphones, set the cue mix so you hear the incoming track over the playing one, and learn the split cue behavior before a gig, not during one. Half of what sounds like bad beatmatching to a beginner is actually bad cueing.
Step eight: Analyze your tracks and set cues. Run the whole library through analysis while you eat dinner. Then set memory cues at the intro, the drop, and the outro of the tracks you play most. The software grid is a guide, not gospel, so fix grids on anything that drifts.
Step nine: Cable discipline. Run the TRS or RCA output behind the unit, not across the top. Leave a small loop of slack so a yank on the cable pulls the loop instead of the controller. If you have a case, keep the case under or beside the unit so it is already packed when you are done.
Off the decks: the other thing called a controller
The word controller pulls double duty, and this is the only other thing in this guide that carries it.
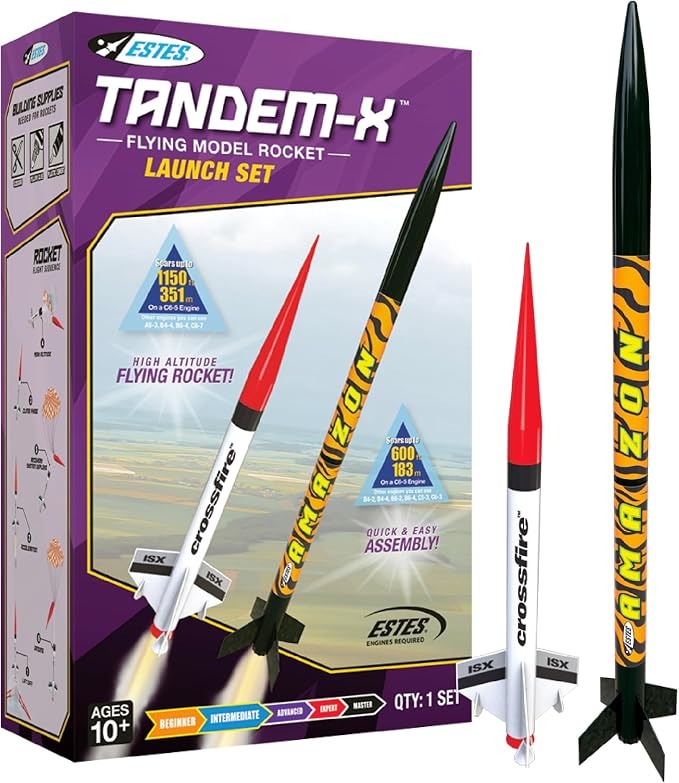
The non-DJ pick: Estes 1469 Tandem X Rocket-Building Kit, Beginner Flying-Rocket Model Kit for Ages 10+, Includes Launch Pad and Controller
 Visit on Amazon →
This is a rocket kit, not a DJ controller, and I am not going to pretend otherwise. It is a beginner flying model kit for ages 10 and up, and it includes a launch pad and a controller of its own, which in this case is the launch controller you use to fire the thing. Check current Amazon price if you want it.
So why is it here? Because if you are the DJ in your family, you have a kid, a niece, or a nephew who has watched you push faders for an hour and wants a controller of their own. This is that controller. It builds, it flies, and it teaches patience and setup, which is more than I can say for most things marketed at beginners. Keep it away from the decks and away from anything flammable.
What this guide leaves out
Four-channel controllers are a trap for a first purchase. You will use two channels for a year, and the third and fourth will sit there collecting dust while you pay for them. Buy two channels, get good, then upgrade when you actually know what you are missing.
Mixers are outside what I cover, and so are media players and turntables. If you already own turntables and a vinyl collection, the setup questions are different and mostly about DVS routing, which is a separate article.
Also outside this guide: anything marketed as pro grade on a plastic chassis. If the marketing copy uses the word professional and the faders have no weight to them, walk away. And if the software wants a subscription for features that used to be free, walk away faster. Your first controller should not have a monthly bill attached.
What this all costs
The smartest money in a beginner setup goes in this order: the controller and its software bundle, then a case, then cables, then everything else. The bundle above handles the case and the cable in one purchase, which is the main reason I point at it instead of a bare unit.
The dumbest money goes into lights and stands before you can hold a beat. Nobody has ever left a party talking about the LED strips. They leave talking about whether the transitions landed.
The other cost nobody mentions is time. Twenty minutes of setup once, done properly, saves you months of confusion about why your recordings sound muddy or why your mixes drift. That is the real return, and it is free.
The first hour practice plan
Do this four times a week for a month and you will be better than most people who have owned a controller for a year.
First fifteen minutes: beatmatch by ear with the crossfader in the middle and the sync button untouched. Use the pitch fader and the jog wheel only. It will sound bad. That is fine, it is supposed to.
Second fifteen minutes: transitions. Pick two tracks, find the outro of one and the intro of the other, and mix them four different ways. Long blend, short cut, bass swap, and a filter sweep. Record every attempt.
Third fifteen minutes: EQ work. Kill the bass on the incoming track, bring it in, swap the bass, then swap the mids. This is where gain staging pays off, because a bass swap done with hot levels will clip and you will hear it.
Last fifteen minutes: listen back to the recording with headphones and write down one thing to fix. One. Then close the laptop.
The short version
Two channels, a case, a cable, and gain staging you actually understand. Set the trim once, learn the fader curves, close your eyes and feel the jog wheels, and then spend a month practicing instead of shopping. Gear is not the bottleneck. It never was.